Found Objects for Natural Pigment Making

Charcoal from Burnt Wood
Clay and Earth Ochres
Dried Berry Juices
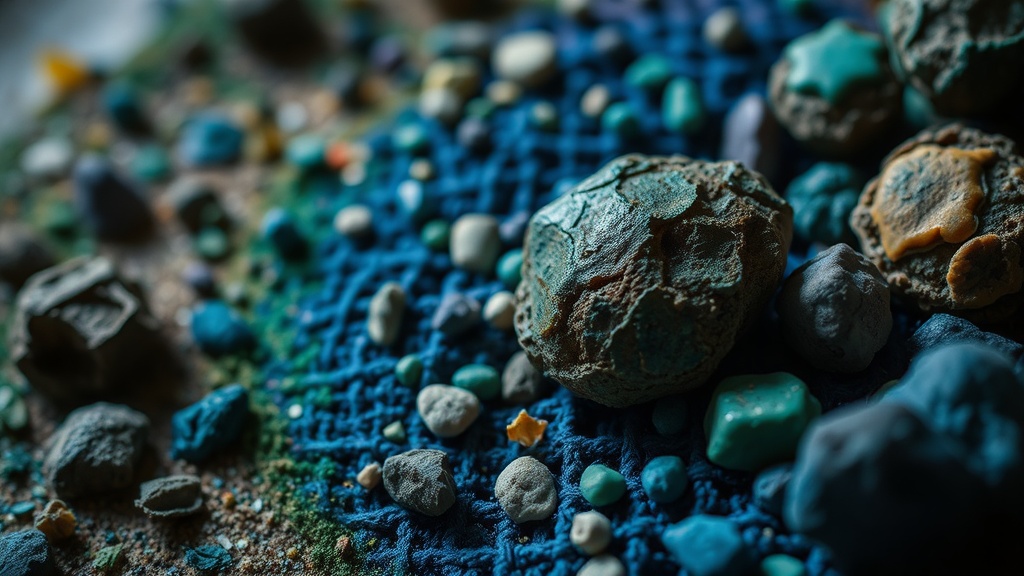
Crushed Mineral Stones
What You'll Learn About Sourcing Natural Pigments
This post covers the specific types of organic materials you can find in your backyard or local environment to create handmade pigments. You'll learn how to identify materials for different color families, how to process them, and what to look for to ensure your colors stay stable. Making your own paint is a way to connect deeply with your medium—and it's much cheaper than buying high-end professional paints.
Finding color in the wild isn't just about picking up a pretty flower. It's about understanding the chemistry of the earth. You need to know which minerals provide deep ochres and which plants yield bright yellows. It's a bit of a science experiment every time you head outside.
Where Can I Find Natural Pigment Colors?
You can find natural pigments in three main categories: minerals, plants, and even biological matter. Each source requires a different preparation method to turn a raw material into a usable artist's paint.
Mineral and Earth Pigments
Minerals are the heavy hitters of the pigment world. They provide the most lightfast colors—meaning they won't fade when exposed to sunlight—which is a huge win for any serious painter. If you're looking for earth tones, you're looking for clays and oxides.
- Clays: Common clays like kaolin or bentonite can be dried and ground into fine powders. They often result in soft, muted whites or pale yellows.
- Iron Oxides: This is the stuff that gives rust its color. You can find varying shades of red, orange, and brown in iron-rich soils.
- Limonite: This is a common mineral that yields yellow hues. It's widely available in many sedimentary environments.
A quick tip: always check your local U.S. Geological Survey resources if you want to understand the mineral compositions of your specific region. It helps to know what's actually under your feet before you start digging.
Plant-Based Pigments
Plants are more temperamental. They offer a huge range of colors, but they can be much more sensitive to light and pH levels. One day you have a vibrant yellow, and the next, it's a dull beige. That's just the nature of organic chemistry.
Common plant sources include:
- Berries and Fruits: Think elderberries or blackberries. These are great for temporary staining, but they fade fast.
- Bark and Roots: Many trees, like oak or pomegranate, provide deep tannins and browns.
- Leaves: Green pigments are often extracted from chlorophyll, though these are notoriously difficult to keep stable in water-based paints.
If you're interested in the more technical side of plant dyes, you might already be familiar with my post on building a natural indigo dye kit at home. Indigo is a different beast entirely because it's a vat dye, but the principle of plant-based color remains the same.
How Do I Process Raw Materials into Paint?
The process involves cleaning, drying, grinding, and then mixing the powder with a binder. You can't just smear a crushed berry on a canvas and expect it to stay; you need a medium to hold the pigment to the surface.
Here is a basic breakdown of the workflow for different materials:
| Material Type | Preparation Method | Common Binder |
|---|---|---|
| Clays/Minerals | Grind into fine powder via mortar and pestle | Gum Arabic or Egg Tempera |
| Dried Plants | Boil into a concentrated liquid (decoction) | Gum Arabic or Honey |
| Berries/Fruit | Juicing or mashing | Gum Arabic |
For mineral pigments, the grinding stage is the most important part. If your clay isn't ground finely enough, your paint will feel gritty and won't behave like a professional medium. I usually use a heavy granite mortar and pestle—it's much more effective than anything you'd find in a kitchen-grade set.
When working with plant-based colors, you're often working with a liquid extract rather than a dry powder. You'll want to simmer your material to concentrate the color, then slowly add a binder like Gum Arabic to create a suspension. It's a delicate balance. Too much binder and the color looks muddy; too little and it flakes off the paper.
What Are the Best Tools for Making Pigments?
You don't need a laboratory, but you do need a few reliable tools to get consistent results. Most of these are standard items you might already have in a workshop or a kitchen.
A Mortar and Pestle: This is non-negotiable for minerals. You need something that can withstand the friction of grinding rocks or dried clays. Ceramic or granite works best. Avoid using your expensive kitchen set—the grit from the minerals will ruin the surface for food.
Fine Mesh Sieves: Once you've ground your material, you need to sift it. A fine mesh sieve helps ensure you've removed any large chunks that could ruin your paint consistency. If you want to see the difference a fine sieve makes, look at the technical specifications for pigment production on Wikipedia. It's all about particle size.
Glass Beakers or Jars: These are great for storing your extracts and observing the color development. Glass is non-reactive, which is important when you're working with acidic plant materials or alkaline mineral solutions.
It's worth noting that the quality of your binder matters just as much as the pigment. If you're using a natural binder, you'll want to ensure it's clean. For instance, if you're cleaning your tools between batches, remember to keep your paintbrushes soft with natural soap to avoid any chemical residue affecting your next color batch.
Is It Safe to Use Found Objects for Paint?
Safety is a huge factor that people often overlook. Not all "natural" things are safe to handle, especially when you're grinding them into fine dust.
When you're working with minerals, you're dealing with dust. Inhaling fine mineral dust can be harmful to your lungs. I always wear a basic N95 mask when I'm grinding dried clays or earth pigments. It's a small precaution that prevents a lot of trouble later.
With plants, the risk is more about toxicity. Some common plants can be irritants or even toxic if touched or accidentally ingested. Always research a plant thoroughly before you decide to use it for pigment. If you're unsure, don't use it. There's no way to know for certain if a plant is safe just by looking at it—especially if you're working with it in a concentrated form.
One thing to keep in mind is the "color change" phenomenon. Many natural pigments change color as they dry or as they react with the air. A bright green liquid might turn into a brownish-grey once it hits the paper. This isn't a mistake—it's just the chemistry of the material. It's a learning curve every single time.
If you're just starting out, I'd suggest starting with something simple like crushed charcoal or even common kitchen spices (though spices are more for temporary work). They are predictable and relatively safe. Once you get a feel for how a binder works, then move on to the more complex mineral and plant extractions.