Mixing Your Own Watercolor Pan Sets from Loose Pigments

You’ve spent a small fortune on high-end artist-grade pigments, but now they’re sitting in messy jars or messy paper packets. You want the convenience of a portable watercolor pan set, but you don't want to buy a pre-made set that includes colors you'll never use. This process involves taking dry pigment, mixing it with a binder—usually gum arabic—and letting it dry into a solid cake that you can reactivate with a wet brush.
Mixing your own pans gives you total control over your palette. You aren't stuck with the standard "beginner sets" found in big-box stores. Instead, you can curate a professional-grade kit tailored to your specific style, whether that’s botanical illustration or heavy textures.
What Materials Do You Need to Make Watercolor Pans?
You need high-quality dry pigment, a binder (typically gum arabic), a wetting agent (like honey or glycerin), and a container for the pan.
The foundation of any good handmade watercolor is the ratio between the pigment and the binder. If you use too much binder, the paint will be gummy and won't release color easily. Too little, and it will crumble into dust the moment your brush touches it. Most professionals use Gum Arabic as the primary binding agent because it’s the industry standard for a reason.
Here is a checklist of the specific items you should have on your workbench:
- Dry Pigment: Pure, finely ground pigment (brands like Daniel Smith are great for high-quality loose pigments).
- Gum Arabic Solution: You can buy this pre-mixed or make your own.
- Honey or Glycerin: A tiny bit of this prevents the paint from cracking when it dries.
- Mortar and Pestle: A small ceramic one is perfect for grinding the pigment into the binder.
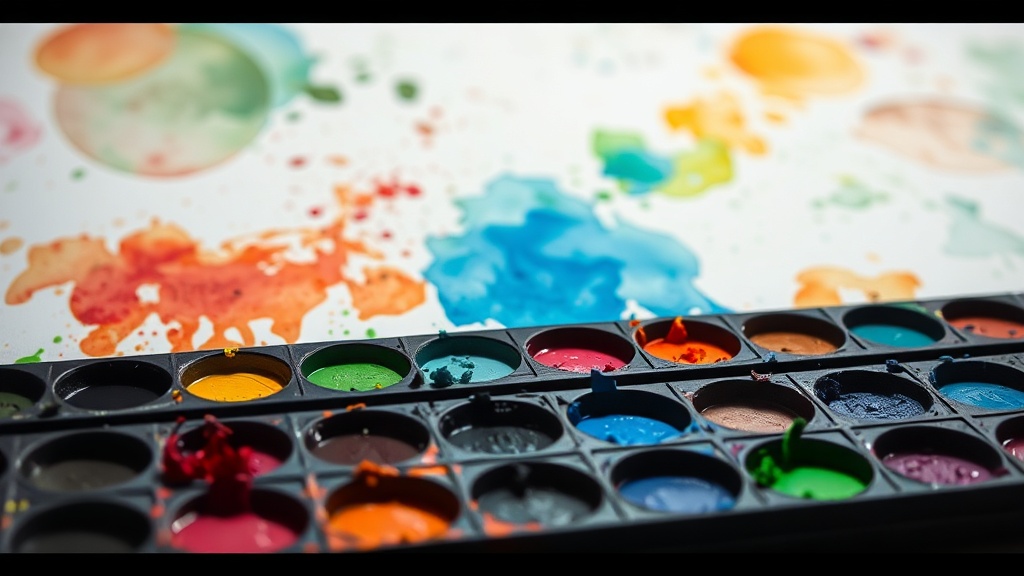
- Empty Watercolor Pans: These are the plastic or metal wells that hold the dried paint.
- A Small Scale: To ensure your ratios are consistent every single time.
Don't skip the honey. It might seem like an odd addition, but it acts as a humectant, keeping the paint from becoming a hard, unusable brick. It keeps the paint "open" and easy to reactivate during a painting session.
How Do You Mix Pigment and Binder Correctly?
The most effective way to create a pan is to grind your dry pigment into a small amount of liquid binder using a mortar and pestle until a smooth, lump-free paste forms.
Start by placing a small amount of your dry pigment into the mortar. Add your binder—a few drops of gum arabic solution—very slowly. You want to create a thick, concentrated paste first. If you add too much liquid at once, you'll end up with a runny mess that's hard to control. Use the pestle to grind the pigment into the liquid. This isn't just about mixing; it's about ensuring every single particle of pigment is coated in the binder. If you leave un-coated particles, the paint will feel gritty on the paper.
Once you have a smooth paste, move to the "pan-filling" stage. Use a small spatula or a palette knife to scoop the paste into your empty pans. You want the surface to be relatively level, but don't worry about making it perfect—it will dry into a solid cake anyway.
A quick tip: if you're working with very fine pigments, wear a mask. Breathing in fine pigment dust is a bad idea, regardless of how "natural" the color is. I often use a small glass dropper to add liquid to avoid any dust clouds.
The Ideal Mixing Ratio
While every pigment behaves differently, a good starting point is a ratio of 2 parts pigment to 1 part binder (by weight or volume, depending on the viscosity). If you find your paint is too brittle, add a tiny drop of glycerin. If it's too sticky, add a bit more pigment or reduce the honey.
| Component | Purpose | Effect of Too Much | Effect of Too Little |
|---|---|---|---|
| Gum Arabic | Binds pigment to paper | Paint becomes gummy/hard to use | Paint crumbles or won't stick |
| Honey/Glycerin | Retains moisture | Paint stays wet too long | Paint cracks when dry |
| Pigment | Provides color/opacity | Paint is too thick/abrasive | Color is weak or translucent |
How Long Does It Take for Homemade Watercolors to Dry?
Homemade watercolor pans usually take between 48 hours and one full week to dry completely, depending on the humidity in your workspace.
Patience is your best friend here. You might be tempted to use them the next day, but if the center of the pan is still damp, the whole set will eventually fail. I usually leave my pans on a flat surface in a cool, dry room. Don't seal the lids immediately. If you trap moisture inside the lid, you might actually encourage mold growth—which is a nightmare for any artist.
Once they feel solid to a light touch, you can snap the lids on. At this point, they are ready for your next session. If you find a pan is still a bit "crusty" or won't pick up color, it's likely because the ratio was slightly off or it didn't dry in a controlled environment. It happens to the best of us.
If you're interested in the more organic side of color, you might enjoy exploring found objects for natural pigment making. It's a much more experimental way to approach color, but the principles of binding remain the same.
The process of making your own pans is a bit of a ritual. It's a slow, tactile experience that connects you to your medium. You aren't just a user of color anymore; you're a maker of it. This level of customization is what separates a hobbyist from a serious practitioner. When you finally sit down to paint, you'll know exactly how that specific pigment behaves because you were the one who crafted it.
One thing to watch out for: some pigments are more "thirsty" than others. A heavy, granulating pigment like a certain Ultramarine Blue will soak up more binder than a transparent, smooth pigment. This is why you can't just follow a single recipe for every color. You have to feel the texture of the paste as you work.
It's a bit of a learning curve, but once you get it, you'll never go back to store-bought sets. You'll have a palette that is uniquely yours—a collection of colors that you've balanced, dried, and perfected. That's the real joy of the craft.
Steps
- 1
Prepare Your Pigment and Binder
- 2
Mix the Slurry to the Right Consistency
- 3
Pour into Individual Pans
- 4
Let the Pans Cure and Dry