Printing Linocuts on Textiles Without a Heavy Press

Most people think you're stuck with paper unless you've got a thousand-dollar etching press taking up half your studio space. That's just wrong. Printing on fabric doesn't require industrial equipment or a specialized degree in textile design. It's about understanding how ink interacts with fibers—and why your standard paper-printing techniques usually fail when you switch to cotton or linen. This guide covers how to transition your relief blocks from the sketchbook to the wardrobe, focusing on the specific pressure and ink adjustments needed for success. We're looking at why your blocks might be coming out patchy and how to fix that with tools you already have in your kitchen drawer.
What type of fabric works best for linocut prints?
Natural fibers are the gold standard here. If you're trying to print on a slick polyester or a stretchy spandex blend, you're going to have a bad time. Synthetic fibers don't absorb the ink; the pigment just sits on top and slides around, leading to those frustrating blurry edges. Stick to 100% cotton, linen, or even silk if you're feeling fancy. These fibers have a natural "tooth" that grabs the ink and pulls it into the weave, which is exactly what you want for a permanent bond. I usually recommend a medium-weight cotton canvas or a flat-weave tea towel for your first few tries. Avoid anything with a heavy pile—like terry cloth—because the ink won't reach the bottom of the loops, leaving you with a speckled, incomplete image.
Wash your fabric before you even think about carving. New textiles are often treated with "sizing"—a starchy substance used during manufacturing to keep the fabric crisp on the bolt. If you don't wash that out, your ink will stick to the starch instead of the fibers. When you eventually wash the garment, the starch disappears, and your beautiful print goes right down the drain with it. Skip the fabric softener, too; it leaves a coating that acts as a barrier to the ink. Just a simple hot wash and a good press with an iron will give you the perfect surface for printing. Having a smooth, flat surface is vital because even a small wrinkle can catch the edge of your block and ruin a print you've worked on for hours.
Which inks will actually stay on the fabric after washing?
You can't just use your standard water-based relief inks for this. If it says "washable" on the tube, it means exactly that—it'll wash right out of your shirt. You have two real options: oil-based relief inks or specialized water-based fabric inks. Oil-based inks, like those from Jackson's Art, offer incredible detail and a professional finish, but they take a week or more to dry completely and require harsh solvents for cleanup. They're permanent once cured, but the waiting game is tough if you're working in a small apartment or a shared studio space. For most home crafters, the specialized fabric inks are a better bet.
Water-based fabric inks (look for brands like Speedball) are designed to be "heat-set." This means they stay water-soluble while you're working—making cleanup a breeze with just soap and water—but become permanent once you hit them with a hot iron. The trick is the consistency. Fabric ink is usually tackier and thicker than paper ink. When you roll it out on your glass plate, you're looking for a specific sound—a soft, velvety hiss—rather than a loud, sticky crackle. If the ink is too thin, it'll bleed into the fabric fibers like a watercolor paint. If it's too thick, it'll fill in your fine carved lines and leave you with a blobby mess. It takes some practice to find that sweet spot where the ink looks like orange peel on the roller but stays crisp on the block.
Don't forget about "transparent base" if you're working with dark fabrics. Standard inks can look dull when printed on navy or black cloth because the fabric color soaks through. You might need an opaque fabric ink, which contains more titanium white or similar pigments to help the color pop. Check out the technical specs at Speedball Art to see which lines are rated for dark textiles. Sometimes a double-pass (printing once, letting it dry, and printing again) is the only way to get a bright yellow on a black t-shirt, but that requires perfect registration, which is a whole different headache.
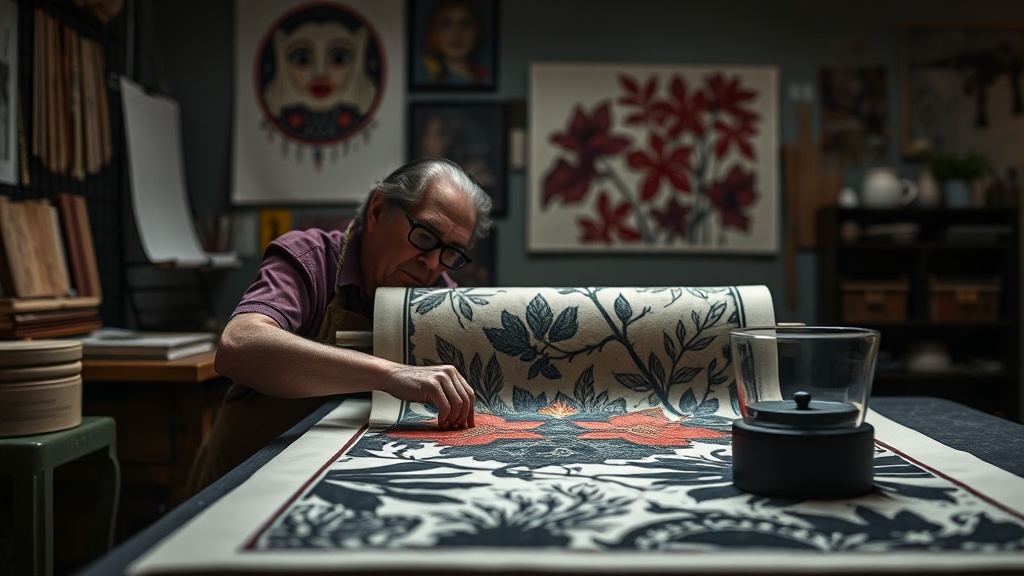
How do you get even coverage without a printing press?
Since you don't have a press to provide several hundred pounds of even downward pressure, you have to get creative. The wooden spoon is your best friend here. It sounds primitive, but a smooth, wide-bowled wooden spoon allows you to focus all your body weight onto a tiny point of contact. After you've inked your block and flipped it onto the fabric (or vice versa), you use the back of the spoon to rub in small, circular motions across the entire surface. You'll actually be able to see the ink being pushed into the fibers through the back of the fabric if you're using a lighter-weight cloth. This manual "burnishing" gives you way more control than a press ever could, allowing you to spend extra time on those stubborn areas where the ink isn't taking.
Another trick is to use a "soft" printing bed. When we print on paper, we want a hard, flat surface. But fabric has dimension and texture. If you place a thin, dense piece of craft foam or a few layers of felt under your fabric, it gives the block somewhere to go. When you apply pressure, the block sinks slightly into the fabric, ensuring that the ink reaches into the valleys of the weave. This "give" is the secret to getting solid blacks (or whatever color you're using) without having to press so hard that you break your arm. Just make sure the padding is consistent; if there's a lump in your felt, it'll show up as a dark spot in your print.
You also need to rethink your carving style. Fabric is much more forgiving than paper when it comes to fine detail—which is a polite way of saying it eats fine lines for breakfast. Those tiny, hair-thin lines you spent three hours carving with your #1 V-tool will likely disappear once the ink hits the cloth. The weave of the fabric is just too coarse to hold that level of detail. When you're designing for textiles, think in bold shapes and high contrast. Use your wider U-gouges to clear out large areas and keep your "islands" of detail sturdy. If a line is too thin, the pressure of the spoon will just squash it, or the ink will bridge the gap and fill it in entirely. Sturdier carving isn't just easier; it actually looks better on the finished garment because it matches the visual weight of the textile.
Once your print is dry to the touch—usually 24 to 48 hours depending on your local humidity—you must heat-set it. This is the step everyone skips, and it's why their prints fade after one wash. Set your iron to the highest temperature the fabric can handle (usually the cotton setting) and turn off the steam. Put a piece of parchment paper or a thin "press cloth" over your print to protect your iron, and press firmly for at least three to five minutes. Keep the iron moving slowly so you don't scorch the fabric, but make sure every square inch of that ink gets a good, long soak in the heat. This process triggers a chemical reaction in the ink that bonds it to the fibers forever. After that, you can toss it in the wash just like any other shirt—though I still recommend turning it inside out to keep the print looking fresh for years.
| Tool | Purpose | Substitute |
|---|---|---|
| Hard Baren | Applying pressure | Wooden Spoon |
| Fabric Ink | Permanent pigment | Oil Ink + Dryer |
| Foam Pad | Printing bed | Old Yoga Mat |