How to Roll Perfect Paper Beads for Custom Jewelry Pieces

You've got a stack of old magazines, a few sheets of leftover scrapbook paper, and a rainy Saturday ahead. Instead of letting those colorful pages gather dust, you could transform them into something wearable—necklaces, bracelets, or earrings that spark conversations and cost next to nothing. Rolling paper beads has been around for centuries (Victorian women used wallpaper scraps), but modern crafters have refined the technique with better adhesives and sealants that make these beads surprisingly durable. Here's how to create professional-quality paper beads from materials you probably already have at home.
What Materials Do You Need to Start Rolling Paper Beads?
The beauty of this craft lies in its simplicity—you won't need expensive equipment or hard-to-find supplies. Gather these basics before you begin:
- Paper sources: Magazine pages, junk mail, scrapbook paper, old maps, sheet music, or wrapping paper. Avoid glossy photo paper (it won't roll well) and tissue paper (too fragile).
- A rolling tool: A bamboo skewer, toothpick, knitting needle, or specialized bead roller. The diameter of your tool determines your bead's hole size.
- Adhesive: White PVA glue (like Elmer's) works well, though some crafters prefer tacky glue or Mod Podge for the final coating.
- Cutting tools: A rotary cutter and self-healing mat give the cleanest edges, but sharp scissors work fine.
- A ruler and pencil: For marking consistent strip widths—accuracy here makes a huge difference in your finished beads.
- Sealant: Clear nail polish, dimensional glaze (like Diamond Glaze), or UV resin for waterproofing and shine.
Work on a clean, flat surface with good lighting. Paper beads require patience and precision—rushing leads to lopsided results or beads that unravel before you can seal them. Set up near a window where you can see the true colors of your paper, especially if you're matching beads for a specific jewelry piece.
How Do You Cut Paper Strips for Different Bead Shapes?
The shape of your finished bead depends entirely on how you cut your paper strips. Understanding this relationship lets you design beads intentionally rather than hoping for happy accidents.
Triangular strips (wider at one end, tapering to a point) create the classic round or oval bead shape. Cut your strip 1 inch wide at the base and taper to a point over 8-10 inches of length for a standard-sized bead. Narrower strips (half-inch base) yield smaller, more delicate beads. The longer your strip, the fatter your bead—experiment with 6-inch strips for thin spacer beads or 12-inch strips for statement pieces.
Rectangular strips produce cylinder or tube beads with straight sides. These work beautifully in modern, minimalist jewelry designs. Cut consistent widths—try ¾ inch for chunky beads or ¼ inch for delicate tubes. Because the width doesn't taper, you'll roll these more tightly to prevent gaps.
Trapezoid strips (wider at both ends than the middle) create bicone or hourglass shapes. These add visual interest to necklaces and catch light differently than round beads. Mark your strip with a 1-inch width at each end and a ½-inch width at the center, connecting the points with straight lines.
Cut multiple strips at once by stacking 3-4 sheets of thin paper and cutting through the stack. This saves time and ensures consistency when you need matching beads for earrings or bracelet patterns. Always cut with the grain of the paper—against-the-grain strips tear more easily and create weaker beads.
What's the Best Technique for Rolling Tight, Even Beads?
Now comes the satisfying part—transforming flat strips into dimensional beads. The technique takes practice, but these steps will get you rolling like a pro:
- Prepare your adhesive: Pour a small puddle of glue onto a scrap of paper or palette. You'll dip your finger or a brush into this rather than applying glue directly from the bottle (which leads to messy over-application).
- Start the roll: Place the wide end of your triangular strip face-down on your rolling tool, leaving about ½ inch extending past the tool's end. Hold the paper firmly against the tool with your thumb—this anchor point prevents slipping.
- Roll tightly: Turn the tool away from you, rolling the paper evenly. Apply gentle, consistent pressure. The first three turns are critical—if these are loose, the entire bead will be weak. Roll slowly, keeping edges aligned.
- Apply glue: When you reach the last 2 inches of your strip, dab glue along the remaining paper with a small brush or your finger. Don't saturate the paper—too much glue causes bubbling and extends drying time dramatically.
- Seal the edge: Complete the roll, pressing the glued end firmly against the bead body. Hold for 10-15 seconds. The tapered end should sit flush against the bead without sticking out awkwardly.
- Remove and shape: Gently slide the bead off your tool while it's still slightly malleable. You can coax it into perfect roundness or leave it slightly organic—your choice.
Work in batches of 10-15 beads, then seal them before starting fresh. Wet glue beads stick to everything—including each other—so give each bead its own drying space. A piece of floral foam works brilliantly as a drying rack; poke the beads onto toothpicks stuck in the foam, or rest them on sewing pins pressed into the foam surface.
How Do You Seal and Finish Paper Beads for Daily Wear?
Unsealed paper beads dissolve in humidity, fray at the edges, and pick up dirt from skin contact. Proper sealing transforms fragile paper into surprisingly tough jewelry components that withstand normal wear.
Method 1: Brush-on sealants — Mod Podge (gloss or matte), Diamond Glaze, or clear acrylic spray work well. Apply 3-4 thin coats rather than one thick layer. Thick coatings pool, drip, and create uneven surfaces. Let each coat dry completely—usually 20-30 minutes—before adding the next. Brush in different directions with each coat for even coverage.
Method 2: Nail polish — Quick, accessible, and creates a hard, shiny finish. Apply 2-3 coats of clear polish, allowing drying time between layers. The downside? It takes longer per bead and can get expensive if you're making dozens. But for small batches or experimental beads, it's perfect.
Method 3: UV resin — The professional choice. UV resin creates a glass-like, waterproof dome that elevates paper beads to fine jewelry status. Apply a thin layer with a silicone tool, cure under a UV lamp for 2-3 minutes per side, and marvel at the transformation. Resin Obsession offers excellent guidance on UV resin techniques if you're new to this medium.
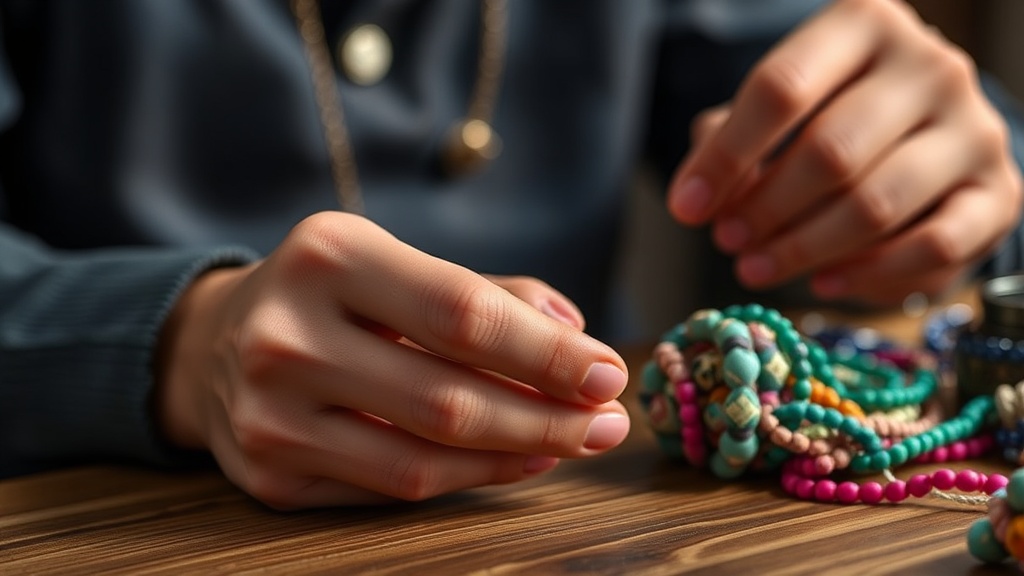
After sealing, string your beads on beading wire, elastic cord, or leather thong depending on your design. Use seed beads or metal spacers between paper beads to prevent rubbing and extend your jewelry's lifespan. Store finished pieces away from direct sunlight (which can fade papers) and avoid showering or swimming while wearing them—even well-sealed beads last longer with reasonable care.
What Design Ideas Work Best for Paper Bead Jewelry?
The real fun begins when you start combining colors, patterns, and bead shapes into cohesive designs. Here are proven approaches that yield professional results:
Monochromatic gradients: Select magazine pages in varying shades of one color—blues, greens, warm neutrals. Roll beads from lightest to darkest and string them in ombre sequence. This technique looks sophisticated and expensive despite costing pennies.
Pattern mixing: Combine striped paper beads with floral ones, or pair geometric prints with organic marbled papers. The key is maintaining a consistent color palette—if your papers share one or two base colors, even wildly different patterns harmonize.
Mixed media combinations: Paper beads pair beautifully with wood, bone, glass, or metal beads. Try alternating paper cylinders with brass spacers, or framing a paper bead focal point with stone accents. These combinations add weight and substance that pure paper jewelry sometimes lacks.
Textural contrast: Roll some beads tightly for smooth, porcelain-like surfaces. Leave others slightly loose so the paper layers create subtle ridges that catch light differently. Combine both types in one piece for visual depth.
For design inspiration and technique tutorials, Craftsy's paper bead guide offers excellent visual references. The Paper Bead Craft community also shares patterns and finishing techniques worth exploring.
Once you've mastered basic rolling, experiment with cutting jagged or curved strip edges (instead of straight lines) for organic, freeform beads. Try rolling multiple thin strips together for marbled effects. Or paint your finished beads with metallic acrylics before sealing for shimmer that paper alone can't provide. The possibilities stretch as far as your paper stash—and your imagination—can reach.